
How to change your blade - Cricut Explore, Maker and Siser Juliet Machines

Changing the blade in your cutting machine can seem like a daunting task, but with a few simple steps, you can quickly and easily swap out your old blade for a new one. In this tutorial, we'll show you how to change the blade in a Cricut Explore, Cricut Maker, or Siser Juliet.
Step 1: Power off your machine
Before changing the blade, make sure your machine is powered off and unplugged. This will prevent any accidents or injuries while you're working.
Step 2: Remove the blade housing
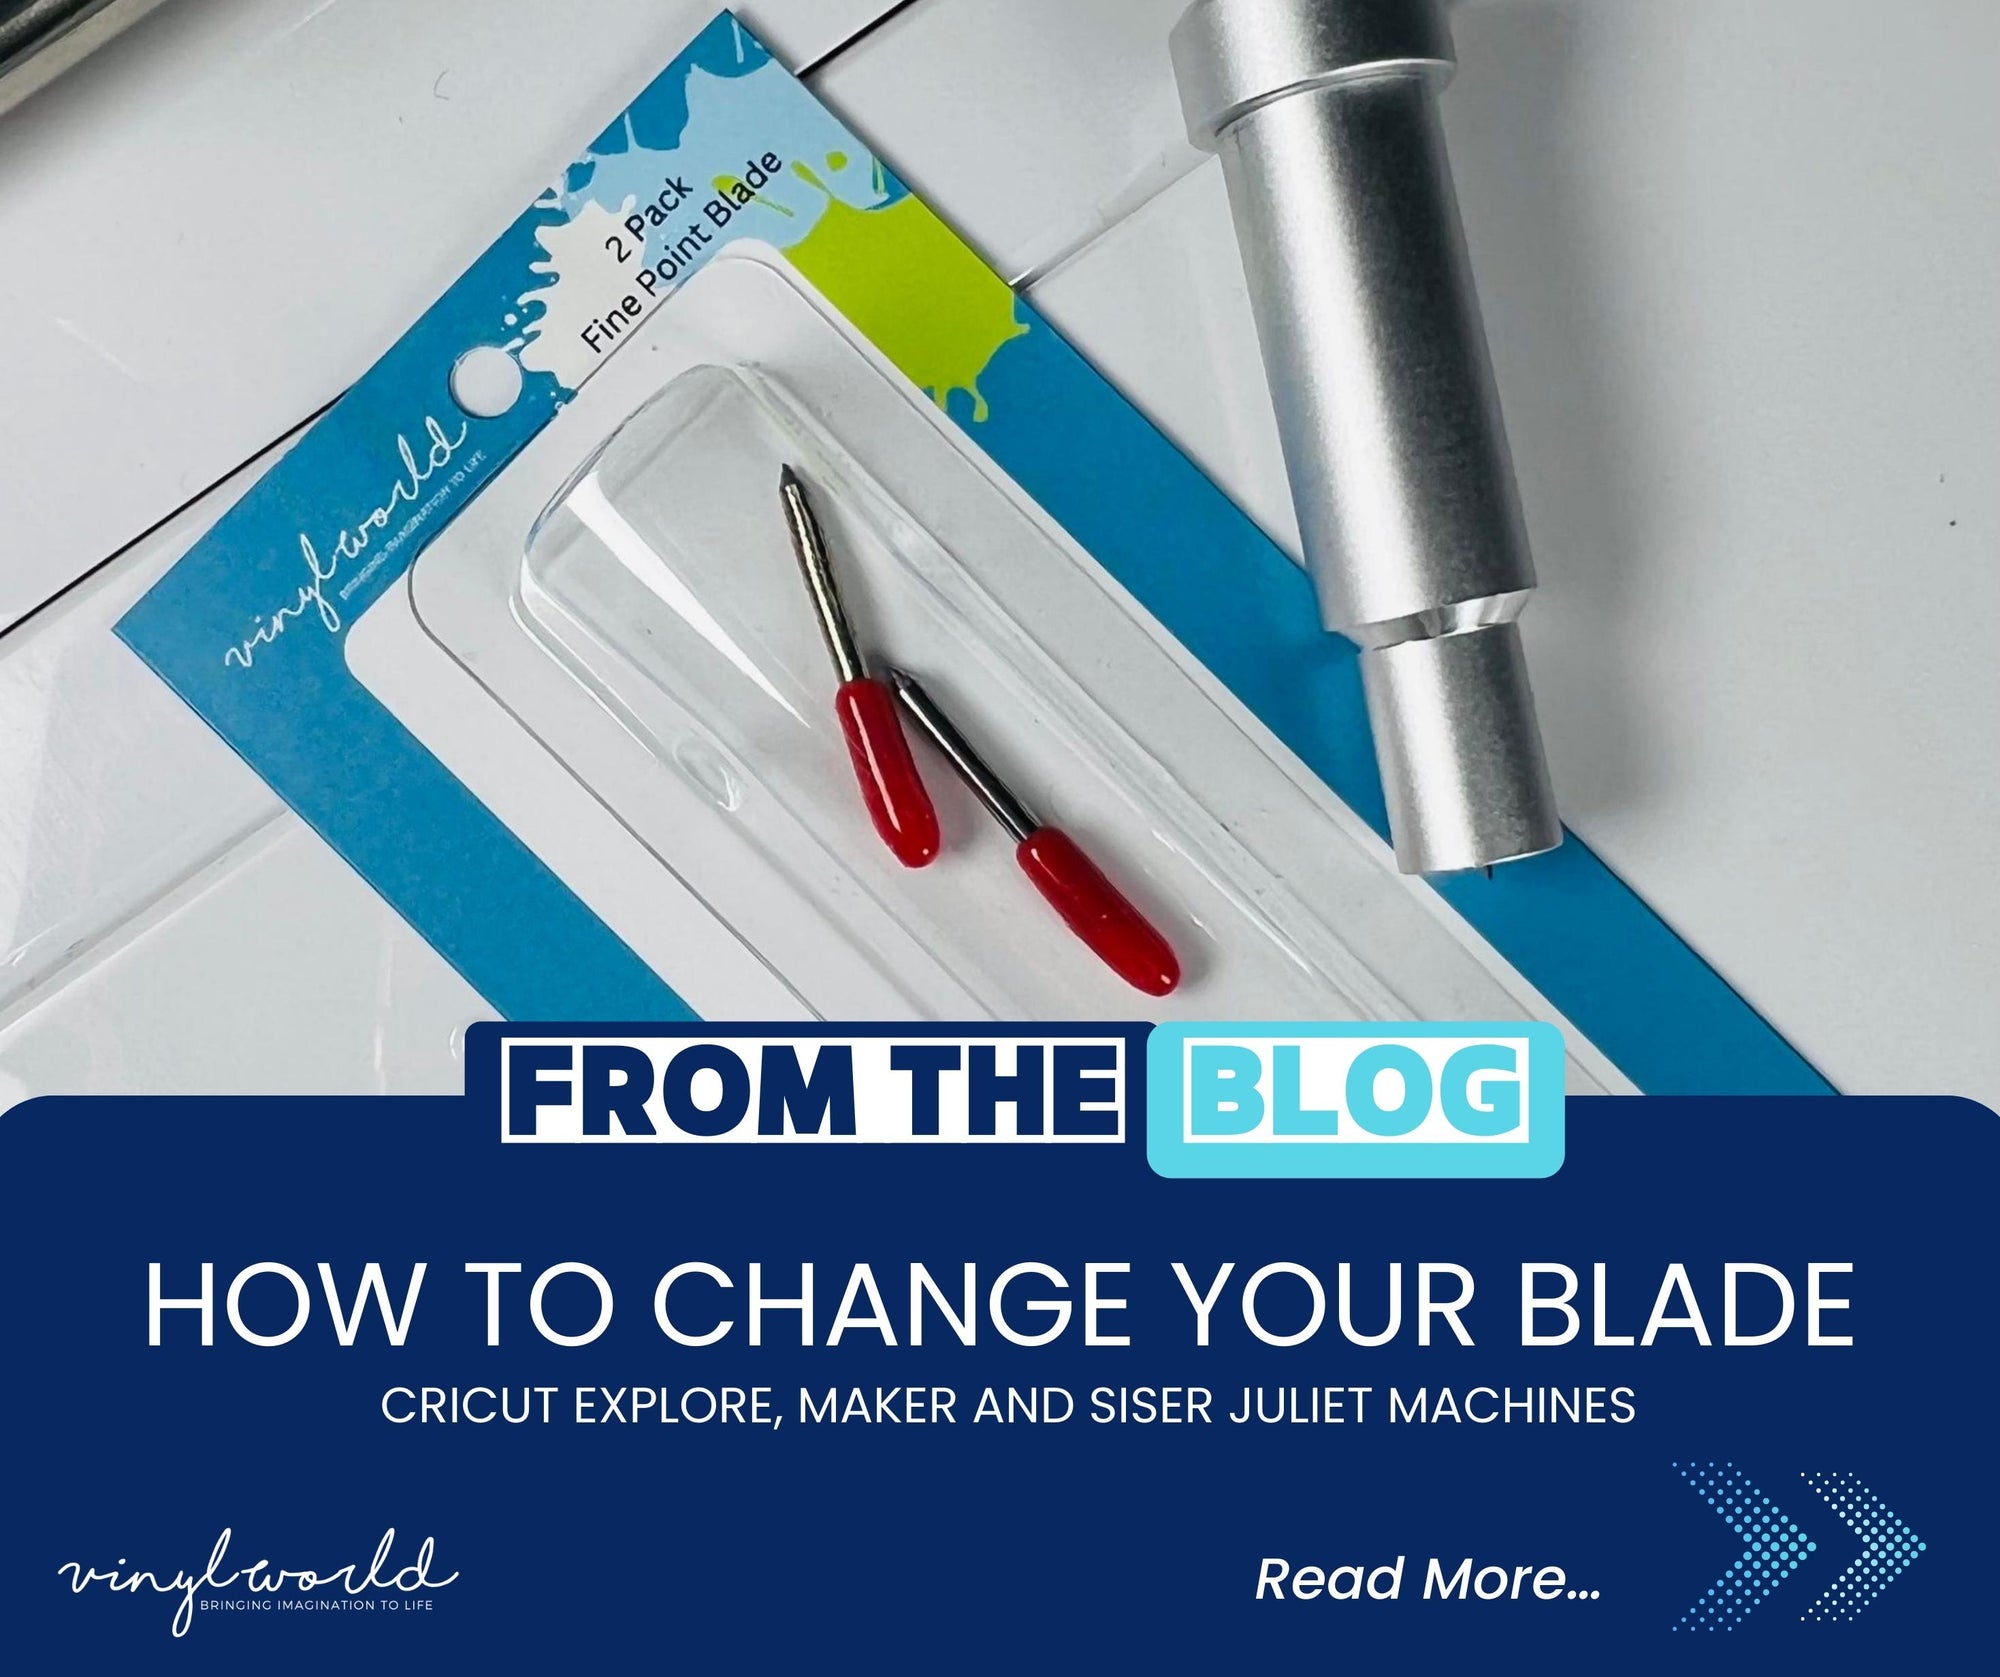
Locate the blade housing on your machine. The blade housing is the small, metal piece that holds the blade and is located in the main head unit. On your Cricut Machines the Fine Point Blade Housing is located in Clamb B. The Juliet blade holder is Red and removed by unscrewing the clamp.

Step 3: Remove the blade
Once you have the housing in your hand, locate the button at the top of blade housing and push down. This will eject the blade slightly to allow for easier removal and installation The blade will be held in place with a magnet. Use your fingers to gently pull the blade out of the housing. Use Caution when handling the old blade as it may be sharp and can cause injury. We recommend reusing the red cap from the next step on the old blade before disposing safely.
Step 4: Remove the red rubber protection cap
Before installing your new blade, remove the red rubber protection cap that came with it. Simply pull the cap off of the new blade with your fingers. The blade is extremely sharp and caution should be taken when handling the blade once the cap has been removed.
Step 5: Replace the blade
Take your new blade and insert it into the housing. Make sure the blade is fully inserted and secure. The magnet will hold the blade in place.
Step 6: Reinsert the blade housing
Once your new blade is installed, it's time to put the housing back into your machine. Cricut Users: Open your clamp and drop housing in clamp B. Close the clamp to secure the blade in your machine.
Siser Juliet users: Place the blade housing in the main head unit and screw in place. The black grip should sit above the ridge on your housing unit as shown. 
Step 7: Test the blade
Before you start your next project, turn your machine back on and run a test cut. This will ensure that your new blade is installed correctly and cutting properly.
Changing the blade in your Cricut Explore, Cricut Maker, or Siser Juliet is a simple process that only takes a few minutes. By following these steps, you'll be able to swap out your old blade for a new one in no time.
Also in Vinyl Hub